Understanding Finish Trim: Types, Styles, and Applications
Finish trim, a vital element in interior design and finish carpentry, plays a significant role in shaping the aesthetics and functionality of a space. It encompasses a variety of molding and trim components that create clean transitions, enhance architectural features, and elevate the overall look of a room. Whether you’re renovating a classic home or designing a modern interior, understanding the nuances of finish trim is crucial for achieving professional-level results. For those embarking on a remodeling journey, exploring high-quality finish trim options and proper installation techniques can make a notable difference. To get started, visit Finish trim and discover premium materials suitable for your project.
Common Types of Finish Trim Used in Modern Interiors
The spectrum of finish trim includes various types tailored to different architectural needs and stylistic preferences:
- Baseboards: These are installed at the intersection between the wall and flooring, providing a seamless transition while protecting walls from damage. Modern bases come in diverse profiles, from simple flat designs to intricate molding patterns.
- Crown Molding: A decorative element installed at the junction of walls and ceilings, crown molding adds elegance and height perception. Styles vary from minimal contemporary trims to elaborate, ornate profiles.
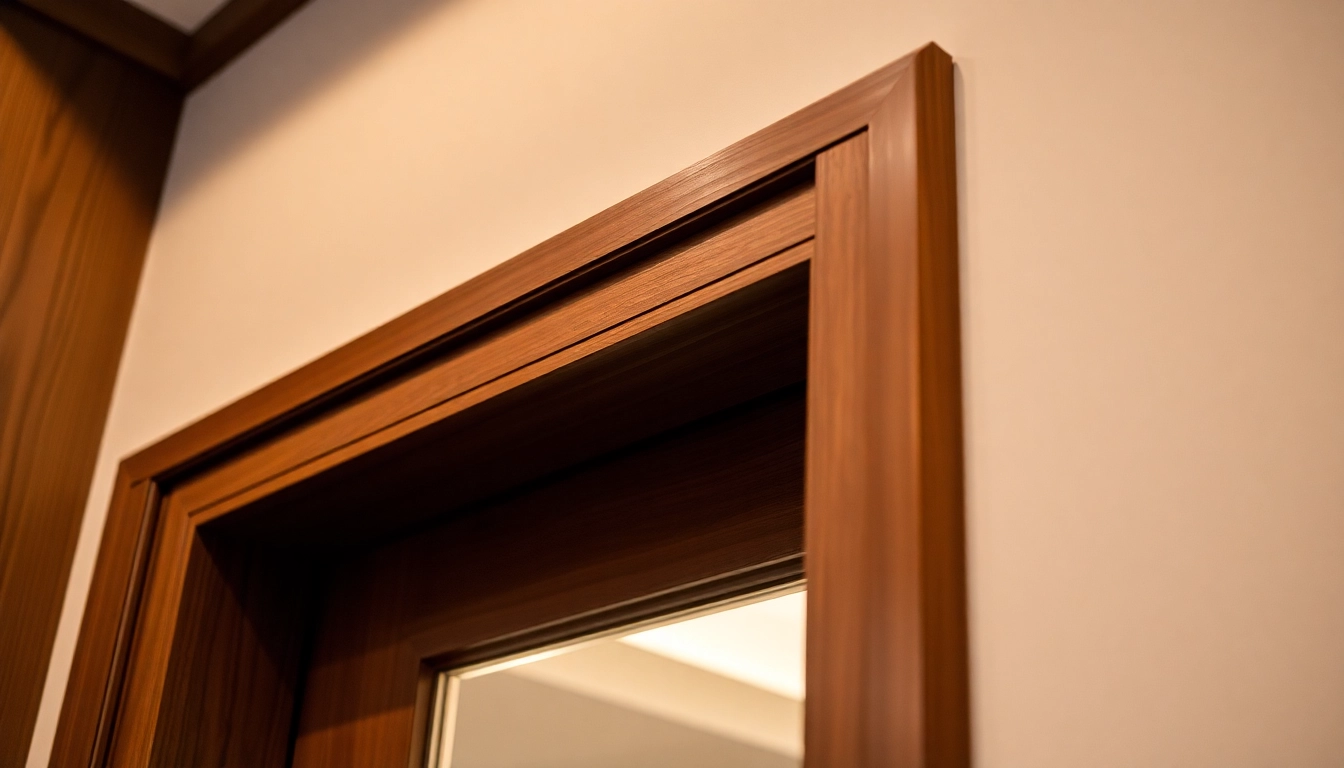
- Casing: Used around doors and windows, casing frames openings cleanly, covering gaps between drywall and structural elements. It can be simple or detailed depending on the style preference.
- Chair Rails and Picture Rails: These horizontal trims are used to protect or accentuate walls, often serving as decorative boundaries.
- Quarter Rounds and Shoe Molding: Primarily used at the base of baseboards, these trims conceal gaps and create refined transitions between different materials.
Choosing the appropriate type depends on your design goals, room function, and existing architectural features. For example, homes aiming for a traditional look may favor ornate crown and baseboard profiles, while modern interiors might opt for minimalist, clean-lined trim.
Choosing the Right Style to Match Your Home Decor
Matching finish trim styles to your home décor is a blend of understanding your aesthetic and technical considerations:
For classic or vintage-inspired homes, detailed moldings like egg-and-dart or dentil patterns reinforce historical authenticity. Modern interiors, conversely, benefit from sleek, simple profiles that emphasize clean lines. Transitional styles often integrate both, combining understated baseboards with more elaborate crown moldings.
Color plays a pivotal role in complementing interior themes. While traditional trim is often painted white or off-white to contrast with wall colors, contemporary designs may incorporate bold shades or even natural wood finishes for warmth and texture. When selecting a style, consider the room’s function and the visual impact you intend to create—enhanced height, cozy ambiance, or sleek minimalism.
Key Areas for Finish Trim Installation (Baseboards, Crown, Casing)
Properly placed finish trim accentuates architectural lines and improves overall room flow. The main zones include:
- Baseboards: Installed along the bottom edges of walls, these protect walls and create a finished look. They are especially important in high-traffic and moisture-prone areas like kitchens and bathrooms.
- Crown Molding: Adds elegance at the junction where walls meet ceilings. It visually expands the interior space, making ceilings appear higher and rooms more spacious.
- Casing Around Doors and Windows: Frames these openings, providing a polished look and concealing gaps between drywall and framing structures.
Focusing on these key areas ensures a harmonious and professionally finished appearance. Proper measurement, alignment, and installation are essential for seamless transitions and visual balance across these elements.
Step-by-Step Guide to Installing Finish Trim
Measuring and Cutting with Precision for a Seamless Fit
Accurate measurements form the foundation of successful trim installation. Use a reliable tape measure, a pencil, and a square to mark precise cut lines on your trim materials. Always double-check measurements, especially for corners and adjoining pieces.
When cutting, employ a miter saw set at the correct angle—most interior corners require 45-degree cuts. For longer runs, cut pieces slightly longer to allow for adjustments during installation. Use a coping saw for inside corners to achieve tight joints that enhance visual continuity.
Keep a detailed measurement log and layout plan before cutting, considering door frames, wall angles, and ceiling elevations to prevent discrepancies. Utilizing templates or jigs for repetitive cuts enhances efficiency and consistency.
Attachment Tips: Nails, Adhesives, and Seam Concealment
Securing trim involves choosing the right fasteners. Finish nails, typically 15° or 16°, provide a clean appearance when used with a nail gun. For thicker or more resistant materials, upgrade to longer nails or use pneumatic tools for efficient installation.
Adhesives, such as construction glue, can supplement nails for added stability—especially in areas prone to movement or expansion.
Conceal nail holes through careful countersinking, then fill with wood filler or caulk. For seamless joints, especially at corners, coping joints are preferred over simple mitering, resulting in cleaner and more durable connections. Always countersink nails slightly below the surface for easy finishing.
Finishing Touches: Sanding, Caulking, and Painting
After attachment, smooth out rough edges and nail holes with fine-grit sanding. Attention to detail here ensures a flawless surface ready for finishing.
Apply caulk at joints, seams, and gaps between trim and walls to create a unified look. Use painter’s caulk for exterior and interior applications, and smooth it with a damp finger or caulk tool for a professional finish.
Painting or staining completes the process. Choose appropriate sheens—satin or semi-gloss are common for trim, providing durability and a subtle sheen that highlights the molding details. Consider primer before painting to enhance adhesion and color vibrancy.
Best Practices for Achieving a High-Quality Finish
Choosing the Right Paint and Sheen for Trim
High-quality paint significantly influences the durability and appearance of finished trim. Interior latex paints like Benjamin Moore Aura or Sherwin-Williams Emerald are popular options due to their excellent coverage, leveling, and washability.
Sheen selection matters—satin or semi-gloss finishes are typically preferred for trim because they resist scuffs, clean easily, and highlight architectural details without the glare of high-gloss finishes. For a softer aesthetic, eggshell or matte sheens can be appropriate but typically sacrifice some durability.
When choosing colors, classic whites are timeless, but modern spaces may incorporate contrasting hues or natural wood stains to add character. Always test paint samples on trim and adjoining walls before committing to the entire project.
Techniques for Smooth, Flawless Application
Proper application involves methodical brushing or rolling, avoiding excessive buildup. Use quality brushes or foam rollers designed for trim to achieve even coverage.
Lightly sand between coats to remove brush marks or drips, ensuring a sleek final surface. Employ painters’ tape to protect adjacent surfaces and create crisp edges. Utilizing a steady hand and consistent strokes results in a professional, high-quality finish.
Take your time—rushing can lead to uneven coverage, drips, or missed spots. Patience combined with meticulous prep ensures your finish trim looks flawless and long-lasting.
Common Challenges and How to Avoid Them
Challenges such as uneven joints, visible nail holes, or paint streaks are common, but predictable with proper techniques:
- Joint Gaps: Use coped joints instead of mitered corners for tighter fits.
- Visible Nail Holes: Fill meticulously and sand smooth before finishing.
- Paint Drips or Runs: Apply thin coats and maintain a steady hand.
- Inconsistent Color or Sheen: Mix enough paint for uniformity and follow manufacturer instructions.
Address issues promptly and avoid shortcuts during prep or application to ensure a pristine, durable finish.
Design Ideas and Trends in Finish Trim
Modern vs. Traditional Finish Trim Styles
Contemporary design favors minimalist, flat profiles with clean lines—such as square-edged baseboards and unadorned crown moldings. This look emphasizes space and openness, aligning with sleek furniture and neutral palettes.
Traditional interiors lean toward ornate, detailed moldings featuring intricate carvings, floral motifs, or layered profiles. These add texture and a sense of craftsmanship that complements antique or period homes.
Transitional styles blend elements from both worlds, using simplified designs combined with subtle decorative accents for a versatile, timeless appeal.
Incorporating Decorative Details for Unique Accents
Enhance visual interest by integrating decorative trim elements such as dentil moldings, rosettes, or corbels. These accents can be applied at strategic points—for example, crown moldings with inset panels or decorative corner blocks.
Colored or stained trim also creates contrast and highlights architectural features. Combining different textures, materials, or finishes can add layers of depth to your interior design.
Color Coordination and Contrast Strategies
Effective color schemes involve either matching trim to walls for subtlety or contrasting for emphasis. For instance, white trim against dark walls offers a crisp, classic look, while matching wall and trim colors provides a seamless, modern appearance.
Layering shades—such as using different tones of white—can also create a nuanced, sophisticated effect. Consider the overall color palette, lighting conditions, and furniture when selecting trim hues to ensure harmony and style coherence.
Maintaining and Upgrading Your Finish Trim Over Time
Cleaning and Routine Maintenance Tips
Regular dusting with a soft cloth or vacuuming with a brush attachment helps maintain the appearance of finish trim. For stubborn dirt or stains, use a mild solution of water and gentle detergent, testing in inconspicuous areas first.
Avoid abrasive cleaners or harsh chemicals that can damage painted surfaces. Occasionally inspect for chips or cracks, and touch up paint as necessary to preserve the trim’s pristine appearance.
When and How to Refinish or Replace Trim
Over time, wear and tear may necessitate refinishing or replacing your trim. Signs include peeling paint, splintering, or coverage of stains and scratches. Carefully remove existing paint or finish, sand the surface smooth, and apply fresh paint or stain for a renewed look.
In cases of severe damage, replacing sections or entire pieces may be more efficient. Choose matching profiles or upgrade to newer styles to update your space while maintaining architectural integrity.
Enhancing Curb Appeal with Upgraded Finish Trim
Exterior trim, such as window casings and soffits, also influences curb appeal. Upgrading these elements with higher-quality materials, contrasting colors, or intricate profiles can dramatically improve your home’s exterior charm.
Consider incorporating decorative elements like brackets, shutters, or contrasting siding accents to create a more inviting and styled appearance. Regular maintenance, including painting and alignment checks, ensures longevity and sustained visual impact.

